Any budding PCB makers ?

the old fart

Senior Member
Hi guys,

My pcb making days are long past me.

Can anyone price me up for a one off please, just the board no drilling.


File is avaliable as a pdf file, but can't load here as it's 1.1MB.

TOF
 

lbenson

Senior Member
Not specific to your request, and I believe you didn't use Eagle pcb software, but eagle .brd files can be used to create very nice pcbs at dorkbotpdx.org ("Laen's PCB order") for $5US per square inch for three boards with free international shipping.

The downside is a 3-5 week turnaround time.
 
Last edited:

Dippy

Moderator
Assuming you can't get a kind soul to do it at cost, here is an example of one of the many online PCB makers.


LINK

They are based in Christchurch , Dorset and , in my experience, have proved good quality and reliable service.
The one cock-up I had was sorted without fuss after a phone call.
One advantage of having it made in UK (for me and you).

If you want to spend a morning drilling then I applaud you.;)

I would lend you my bubble-etch tank if you lived down the road.
 

the old fart

Senior Member
Thanks Dippy,

Many years ago, I built a UV box, no timers, no switches, just a 13A plug top. But it worked well.

I also built a bubble tank from perspex and a fish tank air pump. Tapped and screwed together with 4 BA screws.

All got lost over the years.

TOF
 

Hemi345

Senior Member
FWIW, DorkbotPDX is now OSHpark.com and the turn around time has sped up considerably in the last few months. I believe Laen has added additional facilities for PCB production and help to break apart the panels and mail them them out. I had some breakout boards made last month and got them in about 2 weeks. The quality is very good.
 

srnet

Senior Member
The board looks around 11cm x 9cm.

Itdstudio do space proven boards, that size would cost you $24 for 10 delivered.
 

John West

Senior Member
Here's another example of why it would be good for posters to list the country they are located in. I don't know if this OP is in the rural English county of Norfolk, (I looked it up,) or the city of Norfolk, Virginia, USA, with a population of over 8 million. In an international forum such as this, where people are located on the planet often does make a difference when it comes to replies.
 

the old fart

Senior Member
Itdstudio do space proven boards, that size would cost you $24 for 10 delivered.
Hi srnet,
Do you have the sites address please? google didn't help much.


@John West,
Why does it make a difference to the answers,
Todays postal is worldwide,
Unless you were offering to pop over and make it on site?

TOF
 

Dippy

Moderator
Sometimes it can make a difference.
The postal service is worldwide but the time involved can be a pain.

Example: If you (in UK) were in a mega-rush to make your burglar alarm and wanted the PCBs by, for example, Tuesday then someone could recommend a UK firm.
Or, some kind person with an etcher and a spare fivers-worth of chemicals may live 5 miles from you. Who knows?
Perhaps you're having trouble sourcing components and someone knows of a supplier in your country which may save time and import hassle.
There are probably a gallon of other reasons where it can help.

Obv sometimes it doesn't matter a jot esp. if time is not as important as the wallet.

I assume you can produce your PCB artwork as Gerber or ODB or whatever?
 

John West

Senior Member
TOF, it matters with regard to where I'd suggest you get the bds made, because I assume turn-around time does matter, as do shipping costs, both affected by where you're located on the planet. And, yes, I'll be making some bds in the next few days, but judging from your print "accent" you're on the opposite side of the Atlantic from me, and I don't expect to "pop over" there any time soon.
 

Pongo

Senior Member
Many U.S. suppliers will not ship to the U.K./Europe by mail so it's often pointless to recommend a U.S. seller who has attractive pricing because the cost of non postal service shipping is many times the cost of the item.
 

the old fart

Senior Member
Hi Dippy,
Point taken,

This is a pcb for the 6ch cctv switcher for the bird nest box project.
Its from a project published 4 years ago in Electronics for you magazine, program is available for download but can't find if anyone made the PCB.
I won't be using all the project, but the pcb is very useful.
Worst scenario will be stripboard and birds-nest wiring, no pun intended..

TOF
 

srnet

Senior Member
Hi srnet,
Do you have the sites address please? google didn't help much.
Google 'itdstudio pcb'

Shipping is wordwide at $3.90. Takes around 3 weeks.

If you want them in 7-10 days you can pay $24 for DHL shipping, I dont bother.

They expect Gerbers, which you can of course export from Eagle.
 

the old fart

Senior Member
Ah, so no Gerbers?
Just an image file?
That will limit your options.
If the UV boxes weren't so expensive, I might think of starting up PCB producing again.
But I don't think I'll be building enough projects to warrant the cost. I'm running out of project ideas!!!
Presume an inkjet printout onto clear inkjet sheet would be good for photo sensitive board.

Seen, on the net, how a guy prints inkjet direct onto pcb and sprinkles toner onto board, then toasts it. very strange.
 

tony_g

Senior Member
as mentioned by a couple already osh park is who i use, shipping IS free any where worldwide and the GBP to USD exchange rate would work in your favor and bring the cost down even more.

they seem to have started getting turnaround times quicker now they have become popular.
 

Dippy

Moderator
I've seen chappies here use CFL lamps or sunlight instead of UV boxes.

If I had some chemicals I'd have a go.

Yes, good quality inkjet onto appropriate film (or laser) will provide a good enough negative.

Some CADs (e.g. Proteus) can produce a Gerber from BMP or DXF. But no drill data unless you added pads manually.
I'm not sure if PCB manufs would baulk if no drill data supplied. I've never asked.
You'd better check before getting excited about pukka PCBs made.

I think you may have to wait for a nice boy with chemicals to some along.
Unless you fancy a go with some other UV source and a couple of dishes of chemicals?
 

the old fart

Senior Member
Being retired early I need to watch the pennies.

There are a couple of second hand UV boxes on the market, if the price stays low.

Freehand drawing on pcb is impossible for me, too much twitching. Used to manage some very fine track work once upon a time.

So will have to go down the UV route, unless some kind person comes to the rescue...

twitching and chemicals could be interesting...
 

tony_g

Senior Member
what size is the board? i do have a few spare pieces of 0.60 board but in various sizes so may or may not have something suitable.

if i do and the pcb graphic is good enough to scan into pc i should be able to have a go with the toner transfer and acid/peroxide etch.

presumably a single sided board as well?

tony
ok just realised i have some larger sheets of 0.30 copper clad or there abouts, its a little flexible but can be used reliably.

if you dont have any luck finding somewhere or someone to etch this for you then send me a pm, i have all the necessary bits needed to etch this.

tony
 

Michael 2727

Senior Member
If the UV boxes weren't so expensive, I might think of starting up PCB producing again.
You can buy very cheap FingerNail Art, UV Light Boxes these days.
A two or three tube unit is only around 10-15 bucks AUD.
There are plenty of 36W (4 tubes) units for 25AUD.

UV LED units are available, but I'm not sure if they produce
suitable UV for PCB work ?
 
Last edited:

f2cf1g

Member
I can confirm that you don't need a light box. I used a low energy light bulb, discharge type, mounted in an Anglepoise lowered over the board and exposed for about 15 minutes. Worked fine. My problem is getting the etch temperate/time right.
 

the old fart

Senior Member
Thanks for replies guys,

I'm going to try a photo etch.

I have a twin 18W UV fly killer, should do for the photo side? must remember to isolate the HV.

2 paint roller trays will do for the developer and etching.

I've got a rain suit for splashes..

It's going to be fun, I hope.

TOF
 

the old fart

Senior Member
ok just realised i have some larger sheets of 0.30 copper clad or there abouts, its a little flexible but can be used reliably.

if you dont have any luck finding somewhere or someone to etch this for you then send me a pm, i have all the necessary bits needed to etch this.

tony
Thanks for the offer tony_g.
 

Paix

Senior Member
@TOF, you can use your sandwich boxes for etching, as it doesn't look like you will be needing them in the UK in the foreseeable future and I should hang onto the water proofs. they are in a lot of demand at the moment. Sussex comes to mind, but Norfolk (UK?) seems like it might be a place that will be filling up well at the moment.

£shop should be good for cheap storage boxes for etching. Getting out the paint trays might remind someone that spring isn't far away and find you a roller and paint to occupy some of your spare time . . .
 

1968neil

Senior Member
You could always try the "Toner" transfer method ?
I use it for prototypes and works well and very cheap when you are on a tight budget :)

Regards
Neil
 

WHITEKNUCKLES

New Member
From the Tutorial in Post # 31.
The best advice for a totally dense image is to use a typesetting bureau. The image is within the film and any changes will require digging in with a blade.

Mega-UK have a PCB Instructional Video that includes double sided. Their Laserstar film has a surface treatment that gives a better grip to the toner and their through hole rivets can be set by hand tools.

Laser printers tend to deposit toner at the edges of wider tracks, centres of tracks and large areas can have insufficient toner to prevent pinholes so it helps to examine the image with strong magnification over a light source.

Mega Touch-Up Pens with UV opaque ink take a wee bit of getting used to but can make all the difference to inconsistent traces and can be tided up with a scalpel.

Rapid and ESR are two of their outlets if you also want components to save on Postage.

Dave

http://www.megauk.com/video.php
 

the old fart

Senior Member
Update:

I've been spending, don't tell the wife!!

Dremel 3000 plus pillar stand.

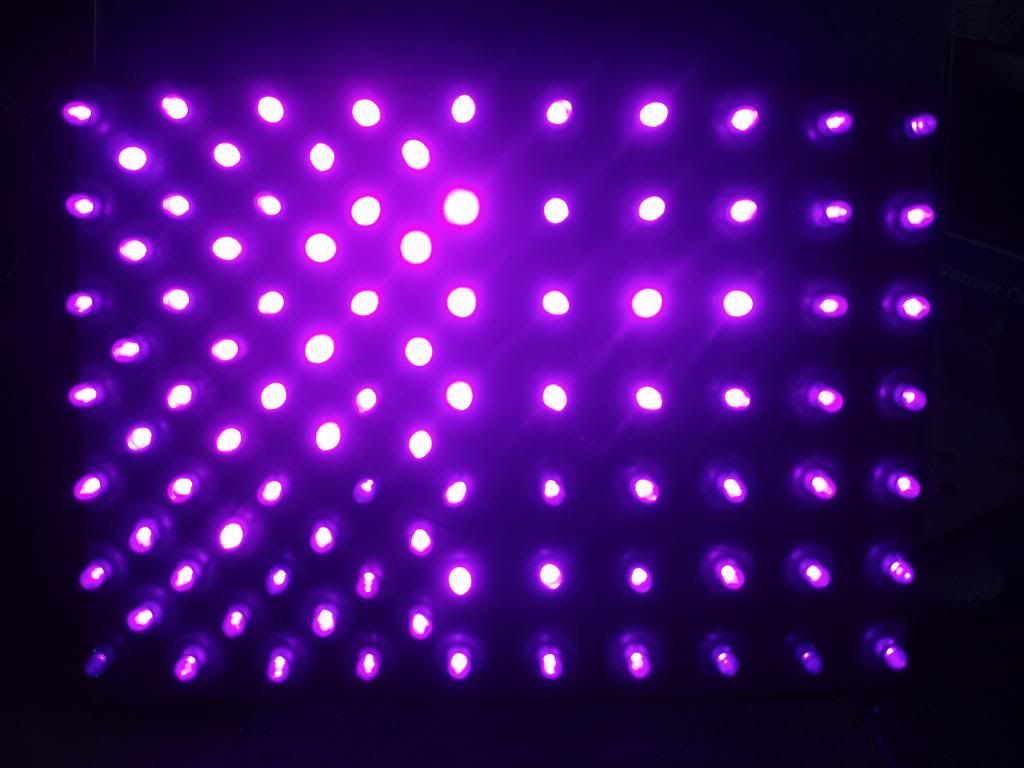
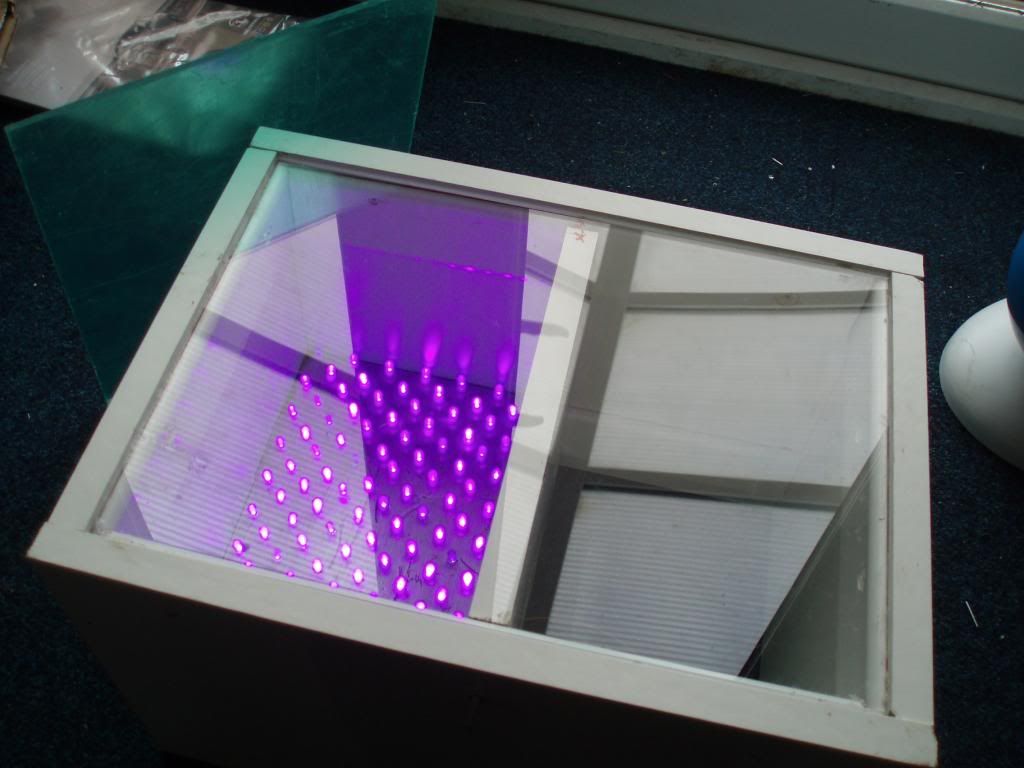
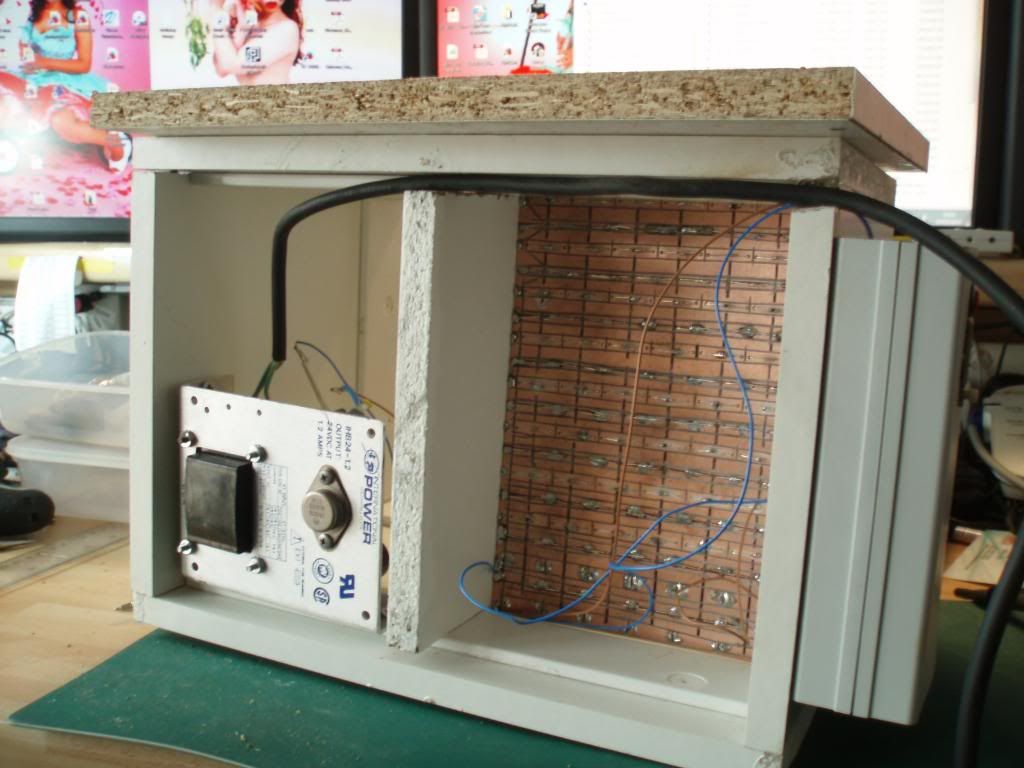
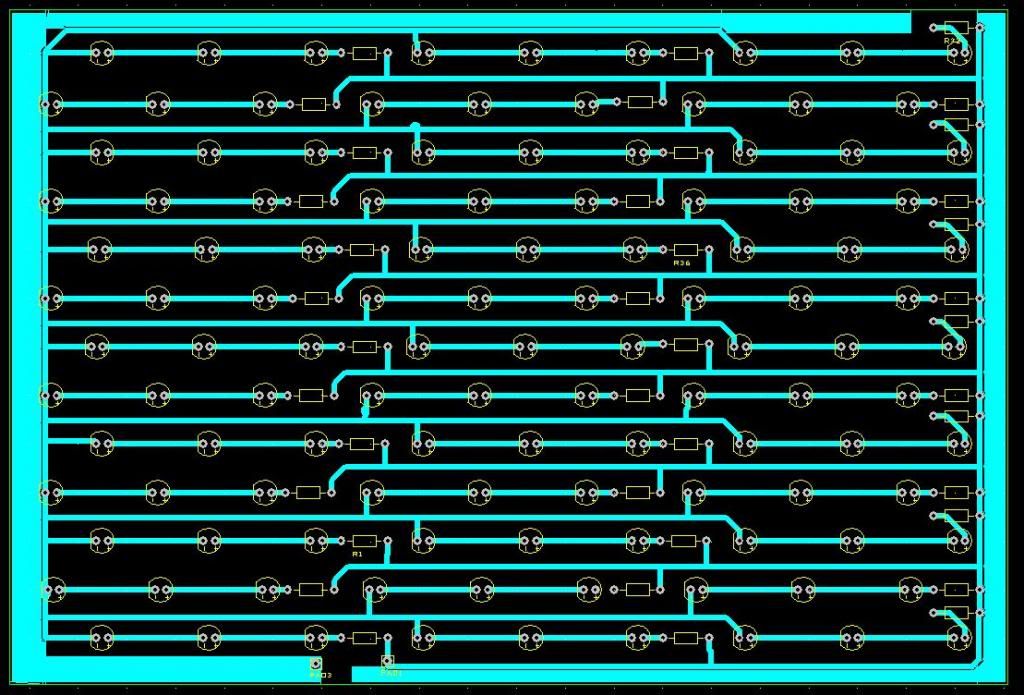
150 UV LED's, built into a contiboard box, timer via an old 18x picaxe and 2 thumbwheels.

bubble etching tank, 4ltr cereal plastic box, 3 fishtank bubble blocks, heated by 2kw fan heater pointed at the side of the tank, warms the workshop at the same time.

premium transparent film from Mega electronics, fotopcb from maplins.


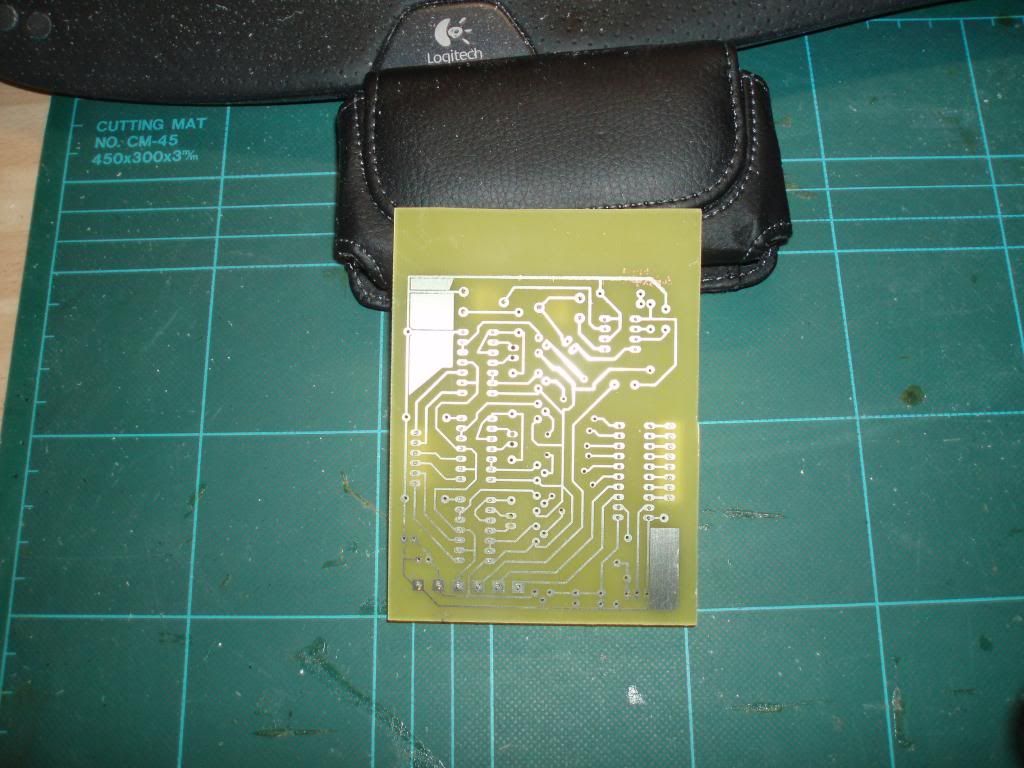
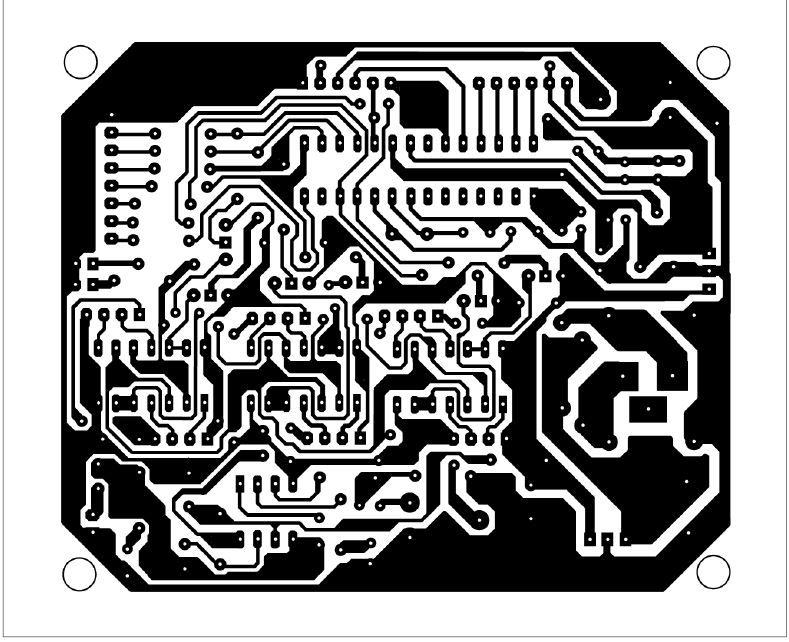
1st board, 5 mins uv exposure, 10-15 seconds developer, then etched till done.
perfect board, all tracks intact, no wispers, only problem was it was the wrong image, inverted...

2nd board, developed too long, nice clean copper board..

3rd board, as board 1 but correct way round.

The pillar drill and 0.8 / 1.0 collett drill bits are a must to get the holes properly aligned. turned pin sockets snapped straight into 0.8mm holes.

If anyone wants the construction of the UV box I'll put together a separate post.

TOF
 

ZOR

Senior Member
That would be very useful. Also reference to where you got UV LED's as confused with black light etc types. I was going to try making a UV box with an old scanner but the scanner broke!
 

the old fart

Senior Member
5mm UV leds were from Ebay, UK source at www.bright-components.co.uk

124 Leds 0n an A5 pcb board. 10 long x 7 wide along the outside.

Box is A4 size, but I've only built 1 A5 board so far.

update: use 3 led's in series and a 100ohm 1/8w resistor.

PCB partially populated,


PCB mounted inside box, plexiglass cover.


Underside with base removed, center board will be removed when 2nd A5 pcb installed.


distance from LED's to plexiglass is about 6 inches.

Timer added to suit, whatever you have to hand, I used an old 18x board.

Top lid has foam stuck to the underside to hold the fotoboard to the transparency.


My first board at 5 mins exposure.


Any questions just ask.

TOF
 
Last edited:

ZOR

Senior Member
All looks very good, thanks for putting it up. I presume you put LED's in series to allow 24 volts on them otherwise they would expose and etch your board in one go!

Which LED's are you using?

5mm UV/Purple Ultra Bright LED or 5mm UV/Purple Straw Hat LED

Both types on Bright components web site.
Regards
 

the old fart

Senior Member
All looks very good, thanks for putting it up. I presume you put LED's in series to allow 24 volts on them otherwise they would expose and etch your board in one go!

Which LED's are you using?

5mm UV/Purple Ultra Bright LED or 5mm UV/Purple Straw Hat LED

Both types on Bright components web site.
Regards

3 leds in series on 12vdc. 100ohm resistor


5mm UV/Purple Ultra Bright LED. L-U-09-05, in packs of 50.

My v2 A5 board, not yet tested.


see here for resistor calculation, http://ledcalc.com/ , 12vdc,3.2vd,20mA,3off

New board with resistors


TOF
 
Last edited:

ZOR

Senior Member
Excellent, I must get some bits together and build one. Spent too long on Veroboard. Thanks again.
 
Top